Pages

Showing posts with label crochet. Show all posts

Monday, 26 August 2013

My Second Ever Crochet Rag Rug

Happy Daisy Crochet Rug Amy Edwards Green
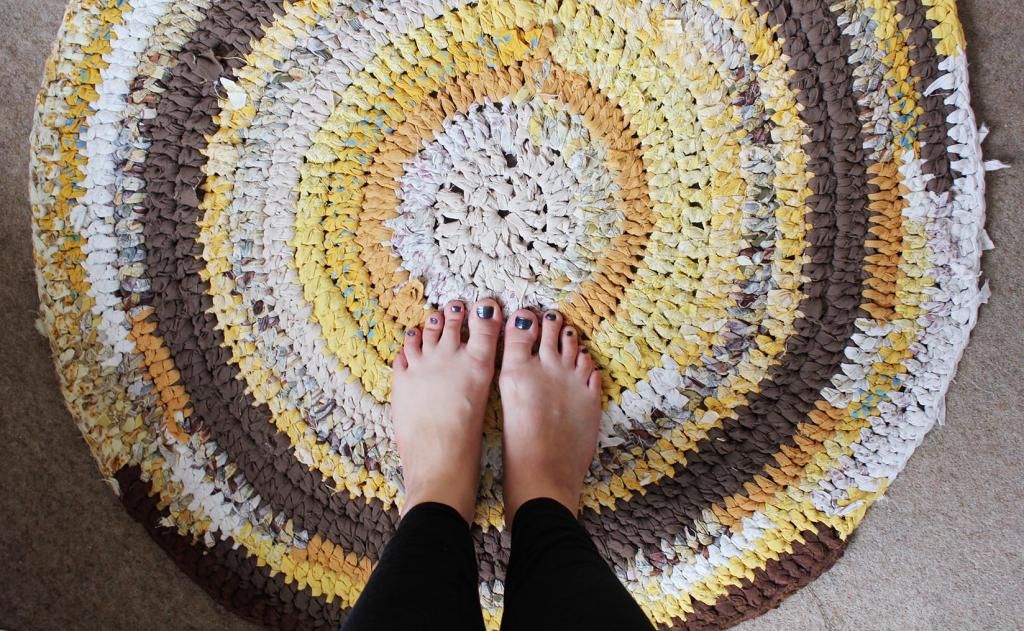
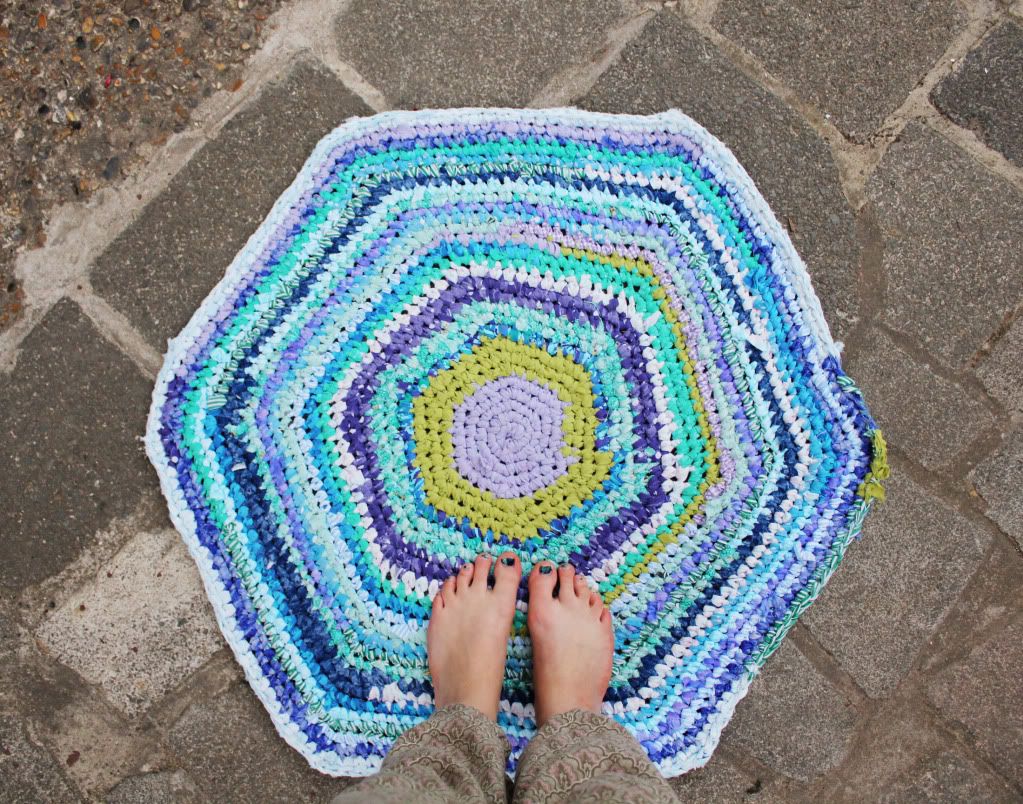
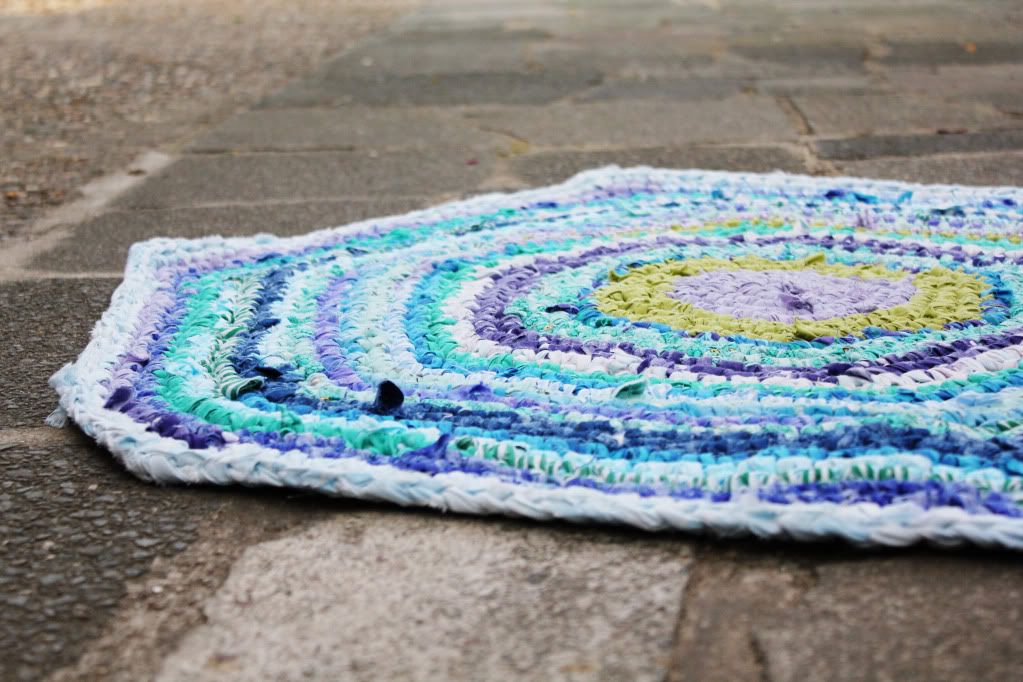
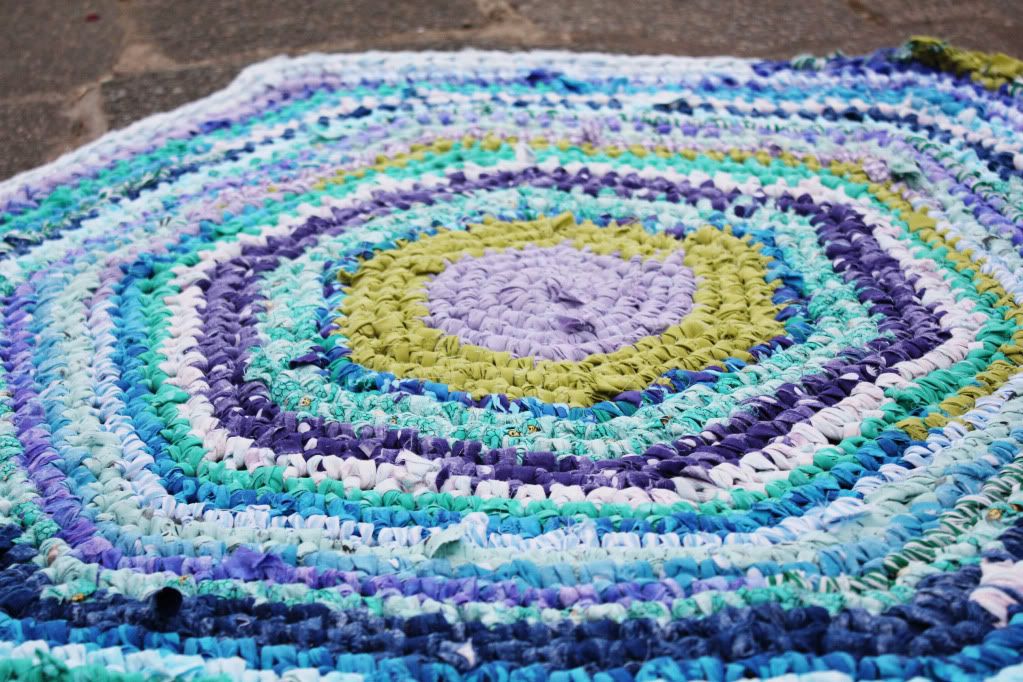
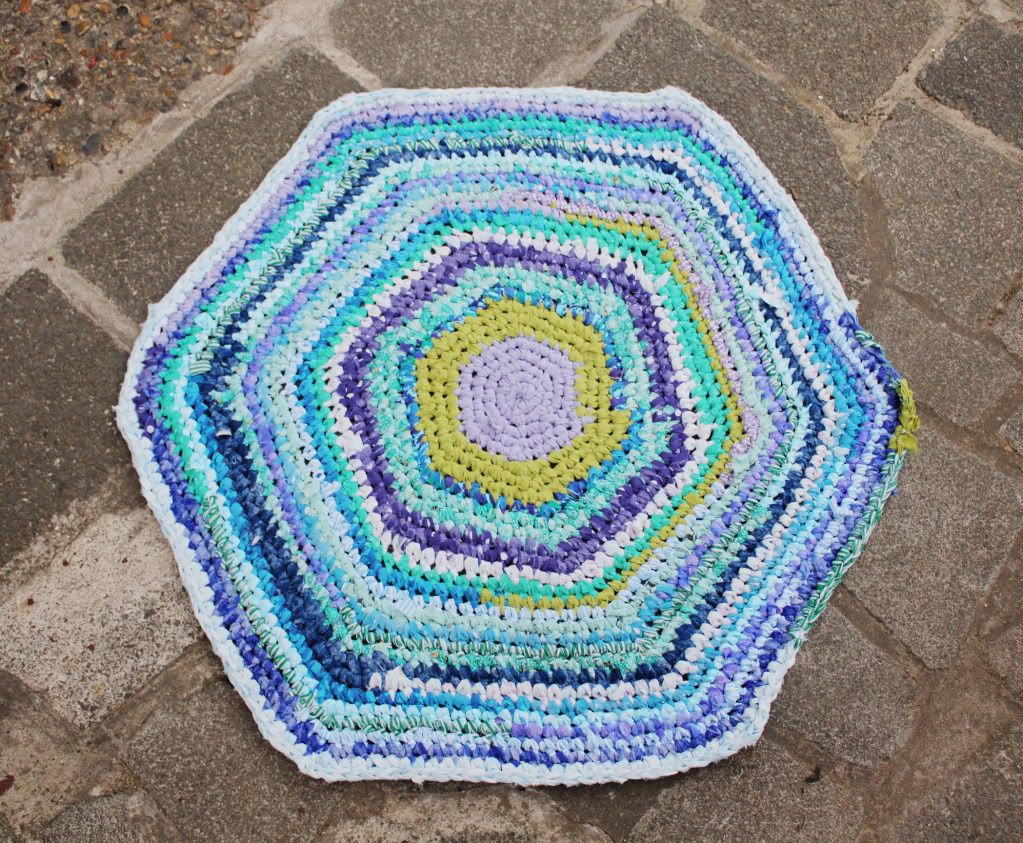
I finally finished up my crochet rag rug a few weeks back - I'm not sure why I only just got around to photographing it! Possibly because it's been on my living room floor in it's work-in-progress state, for the past few months - so I've taken it's presence for granted!
Happy Daisy Crochet Rug Amy Edwards Green
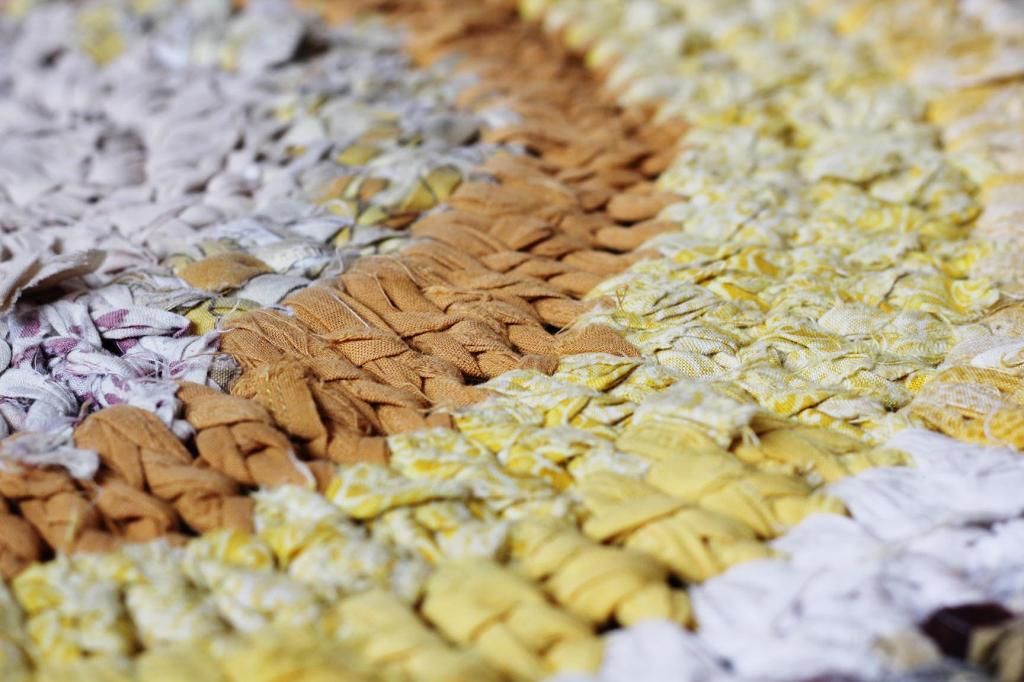
I made my first crochet rug last summer - it lives on my bedroom floor - this one took longer, mainly because I kept running out of fabric in appropriate colours, but unlike the first one, this time it is actually a circle shape (the last was meant to be a circle but for reasons unbeknownst to me, wound up as a rectangle). Made from metres of fabric yarn - sheets, pillow cases, tablecloths salvaged from car boot sales - this rug has pride of place in my living room.

If you're planning on making your own rug - you'll need a lot more fabric than you might think!

When I've amassed some more fabric I think I might attempt to crochet a rag-rug carpet runner for my hallway… or maybe some doormats… The list is never ending!
A ♥

Tuesday, 13 August 2013

DIY Crochet Pot Cover

Happy Daisy Crochet DIY Tutorial Flower Pot
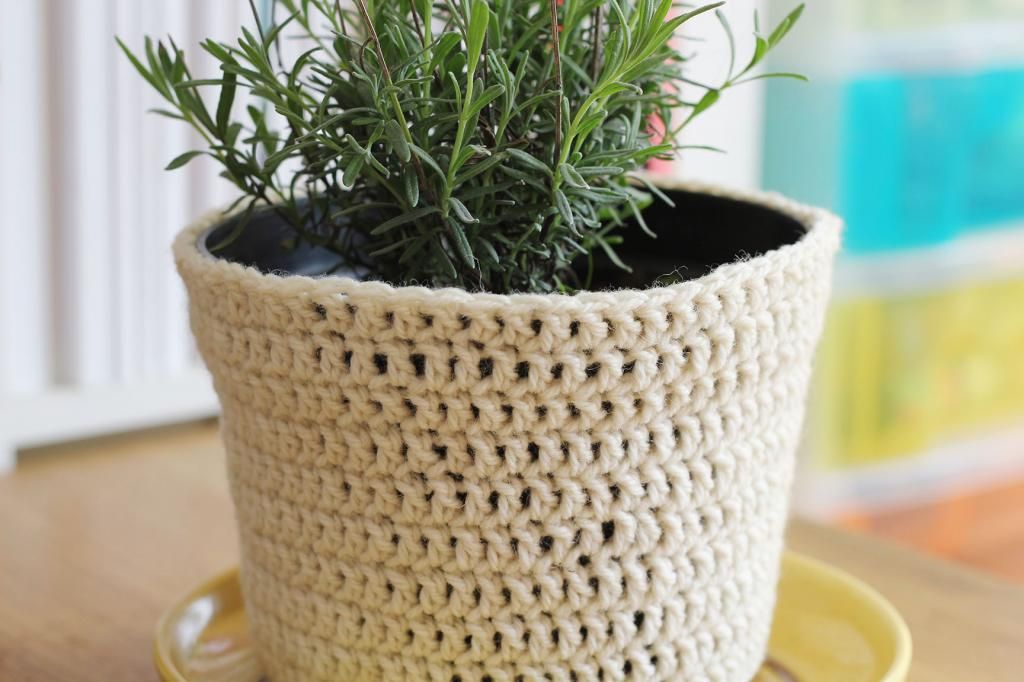
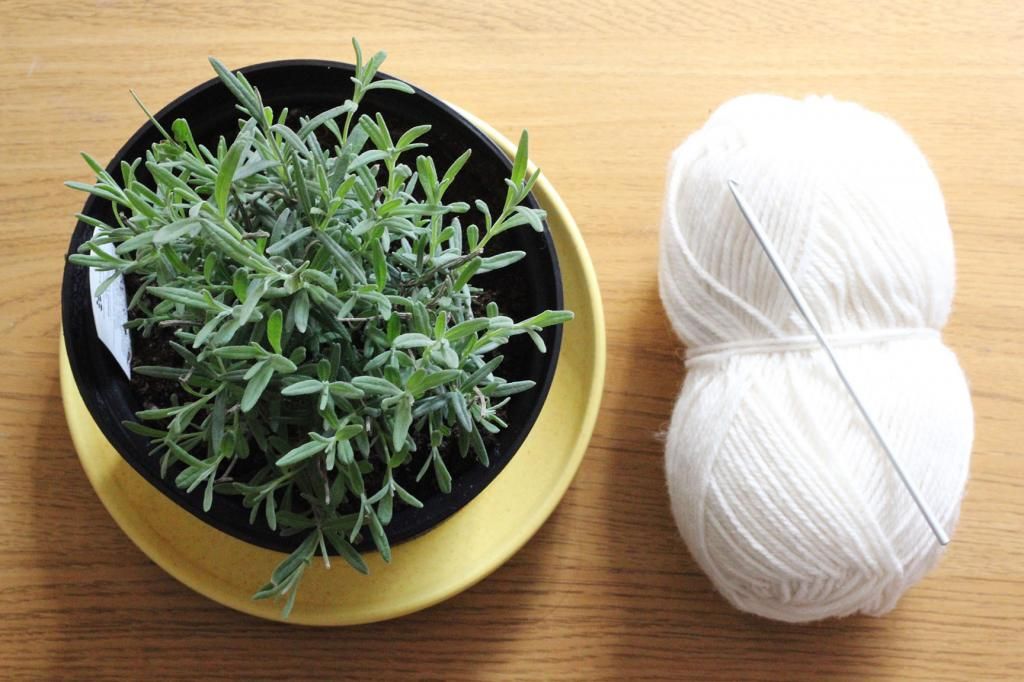
My parents gave me a little lavender plant when they visited last week and it's had pride of place on my living room window sill ever since. I wanted to change up the black plastic pot it's planted in and as all my available pots are too small, I thought I'd crochet a little slip cover to hide the black and help it blend in with my living room a little better.
Happy Daisy Crochet DIY Tutorial Flower Pot
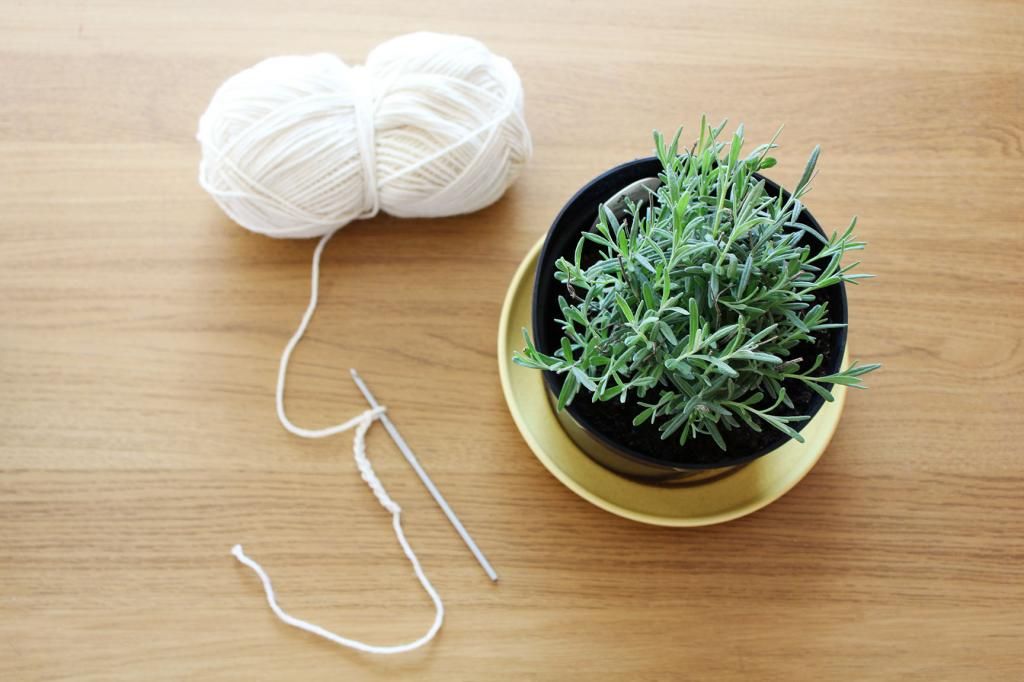
If you want to make your own, it's really easy. All you need is the pot you want to cover, a ball of yarn - I used an aran weight wool blend and a crochet hook. My crochet tension is pretty loose, so I used a 3.5mm hook - you might find you need a bigger one. 
Happy Daisy Crochet DIY Tutorial Flower Pot
Crochet a foundation chain that's just big enough to go around the circumference of the base of your pot. It'll stretch as you go and you don't want it to be too loose or it won't fit snuggly around the pot. The base of my flower pot measured 12cm (5inches) in diameter and I used 62 stitches.
Slip stitch in first chain to form a circle. 
Happy Daisy Crochet DIY Tutorial Flower Pot

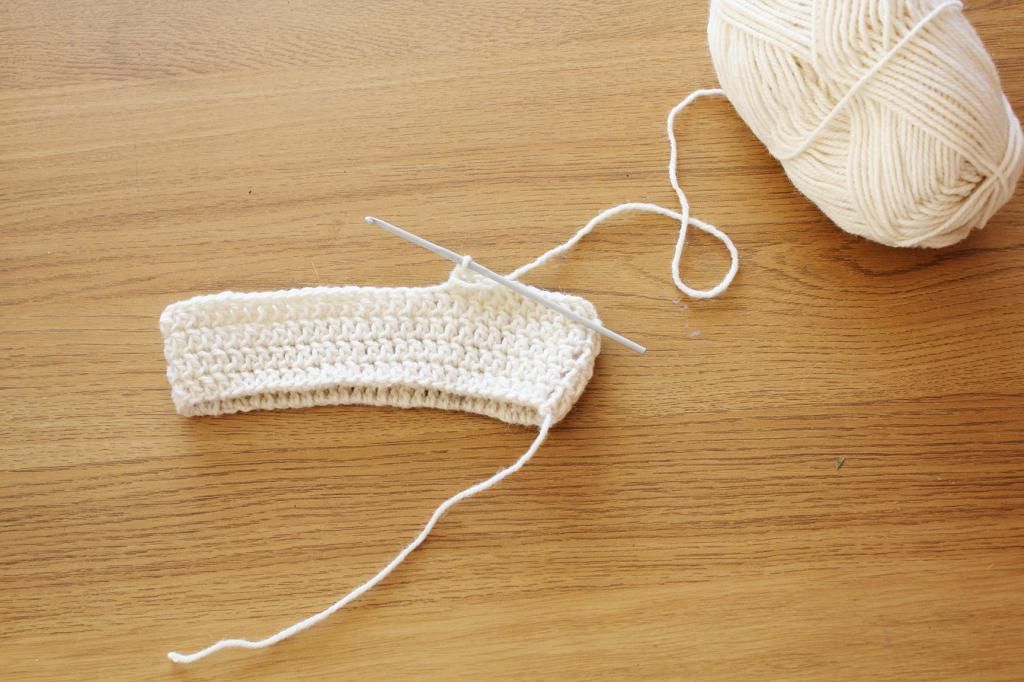
Chain 3 - this counts as the first stitch, then Treble Crochet (US Double Crochet) into the top of each chain stitch, slip stitching into the the 3rd chain of the first 'treble' stitch to complete the round. 
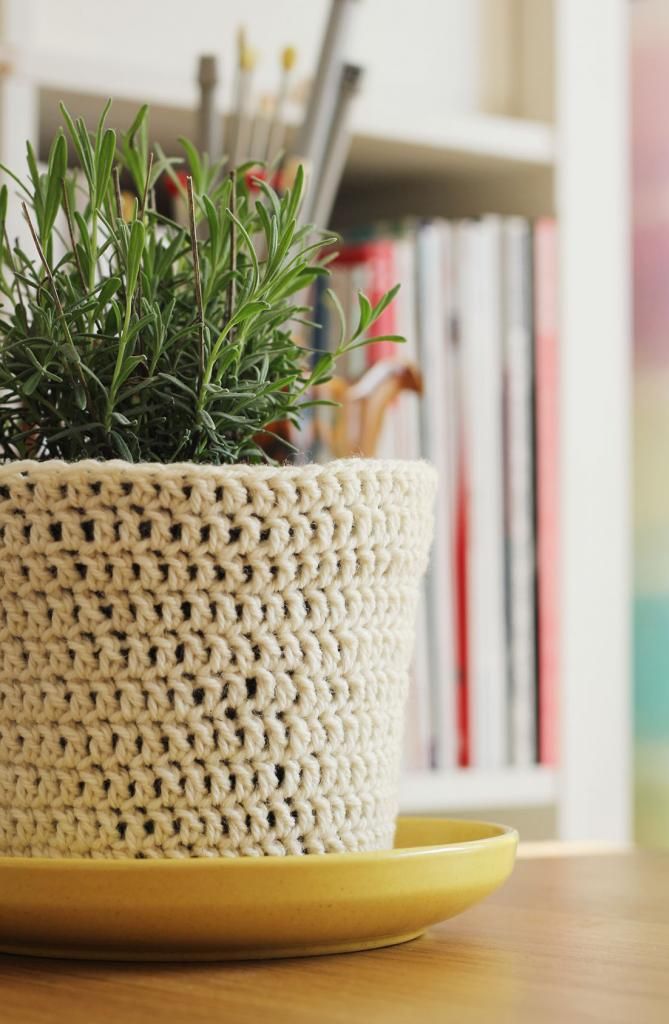
Repeat this row until your work is tall enough to cover your pot - for me, that took 10 rounds. Bind off and weave in your ends, then slip your cover onto your pot. Simple and effective. 
Happy Daisy Crochet DIY Tutorial Flower Pot
I think this would add a nice handmade touch to a gifted plant.

Crafts and gardening! What more could a girl need?! ;)
A ♥

Saturday, 10 August 2013

DIY Crochet Edged Lampshade

Happy Daisy DIY tutorial Lampshade Crochet Edging
I'm not a big fan of overhead lighting - give me fairylights and table lamps any day of the week! I picked up these ceramic blue lamp bases from a second hand shop last summer and the shades are super cheap ones from Wilkinsons - making them a bit more 'me' has been on my to do list for a while. Today I'm going to share how to add a scalloped crochet edge to your own lacklustre lampshade.

You will need:
A lampshade.
A crochet hook - I used a 2mm.
Yarn - I doubled up a strand of hand dyed wool, with a strand of cotton yarn.
A sewing needle - sharp enough to pierce holes in your lampshade, with an eye big enough for your yarn to fit through.
Happy Daisy DIY tutorial Lampshade Crochet Edging
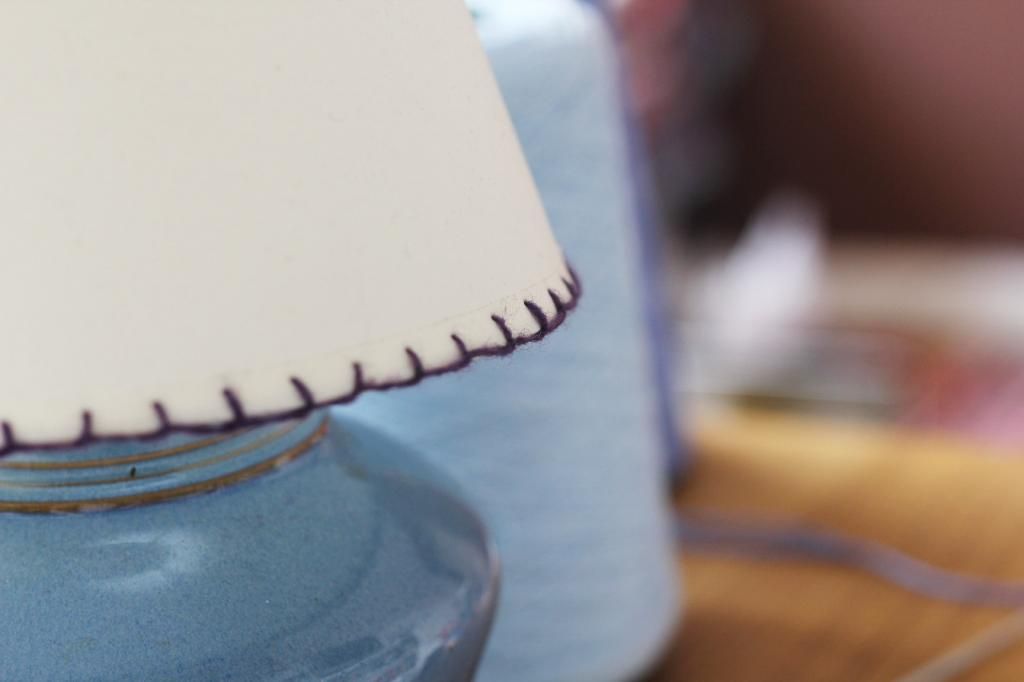
First, you will need to blanket stitch all the way around the edge of your lampshade. Blanket stitch is a really simple embroidery stitch that's really useful to know.

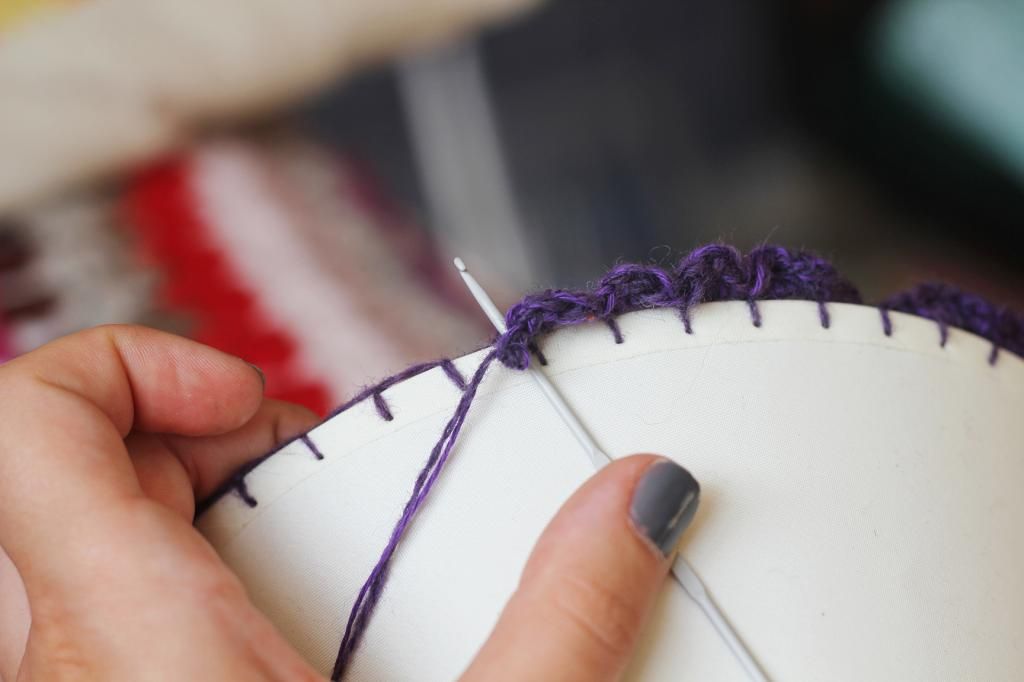
Cut a long length of yarn - it's irritating to have to join new threads when you're blanket stitching. Insert your needle into your lampshade, front-to-back, leaving a tail that you'll weave in later. Instead of making the next hole working through from the back, as you would a running stitch, bring your needle back to the front of the lampshade, pushing it through front-to-back again. Before pulling the stitch tight, bring your needle back through the loop you've just created. Repeat until you get all the way around your shade. Knot your two end threads - you'll crochet over them, securing in the ends.
Happy Daisy DIY tutorial Lampshade Crochet Edging
I chose a simple little scallop edge for my lampshade, working into the blanket stitch, as you would a foundation chain.
In UK crochet terms: Double crochet into first blanket stitch loop, half treble, treble crochet, half treble, double crochet. Repeat in each stitch loop until all loops have been worked and join with a slip stitch.

In US crochet terms: Single crochet into first blanket stitch loop, half double, double crochet, half double, single crochet. Repeat until all loops have been worked and join with a slip stitch.
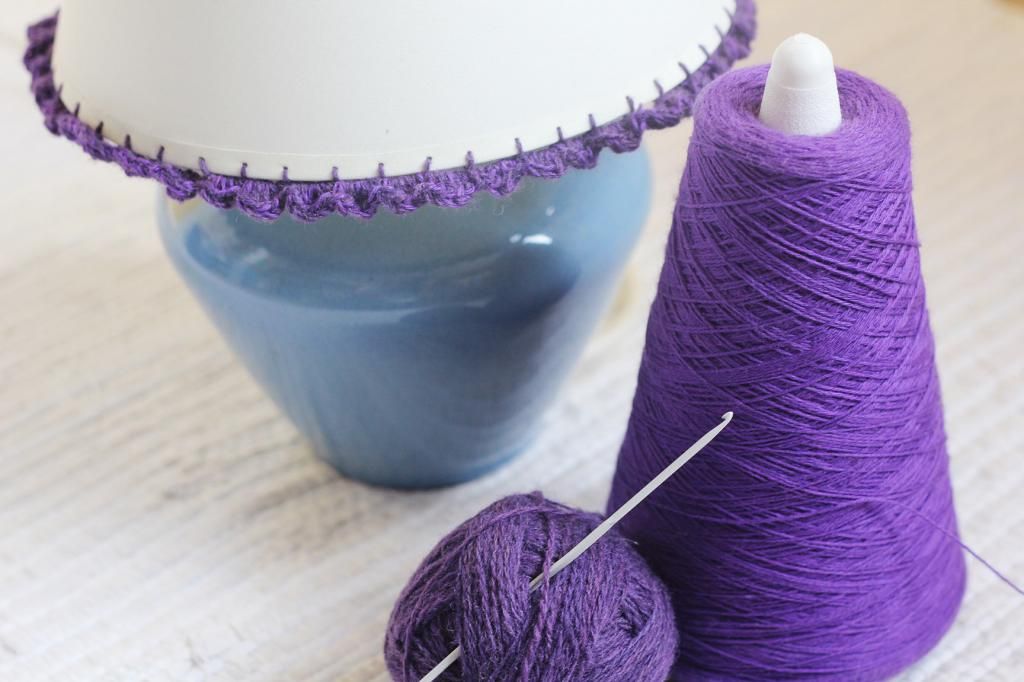
Happy Daisy DIY tutorial Lampshade Crochet Edging
There you have it, a much prettier lampshade!
I think I'll choose a different colour yarn for my second shade, maybe a coral pink…

Have a lovely weekend!
A ♥

Monday, 20 August 2012

Look What I Made: Crochet Rag Rug

Happy Daisy Crochet Rug Craft Handmade 
It's been on the Craft List for longer than I care to remember and the reason I wanted to learn to crochet (that and make granny squares of course). I finally got around to it. Made with fabric scraps and old clothing, it's 100% eco and more to the point, really comfy on my toes. 
Happy Daisy Crochet Rug Craft HandmadeHappy Daisy Crafts Rug Crochet Handmade
It's going to take pride of place in my flat - which is full of laminate flooring - not the cosiest of surfaces! 
Happy Daisy Crochet Rug Craft Handmade
Have you got anything on your craft list that you haven't had a chance to get around to yet? Make time! It'll be so worth it in the end. 

A ♥

Thursday, 2 August 2012

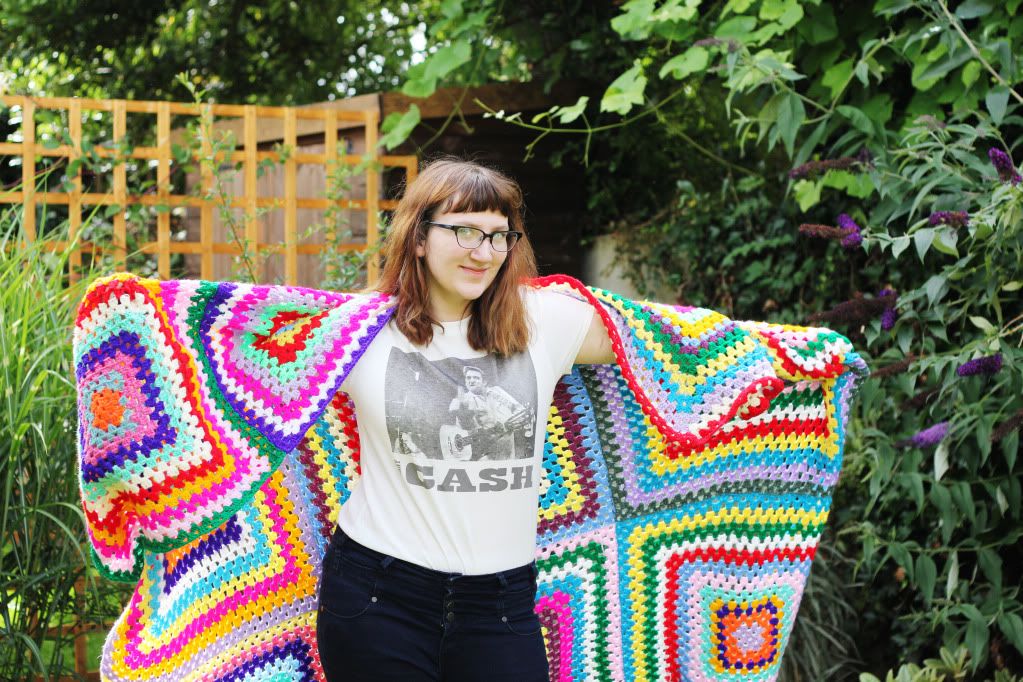
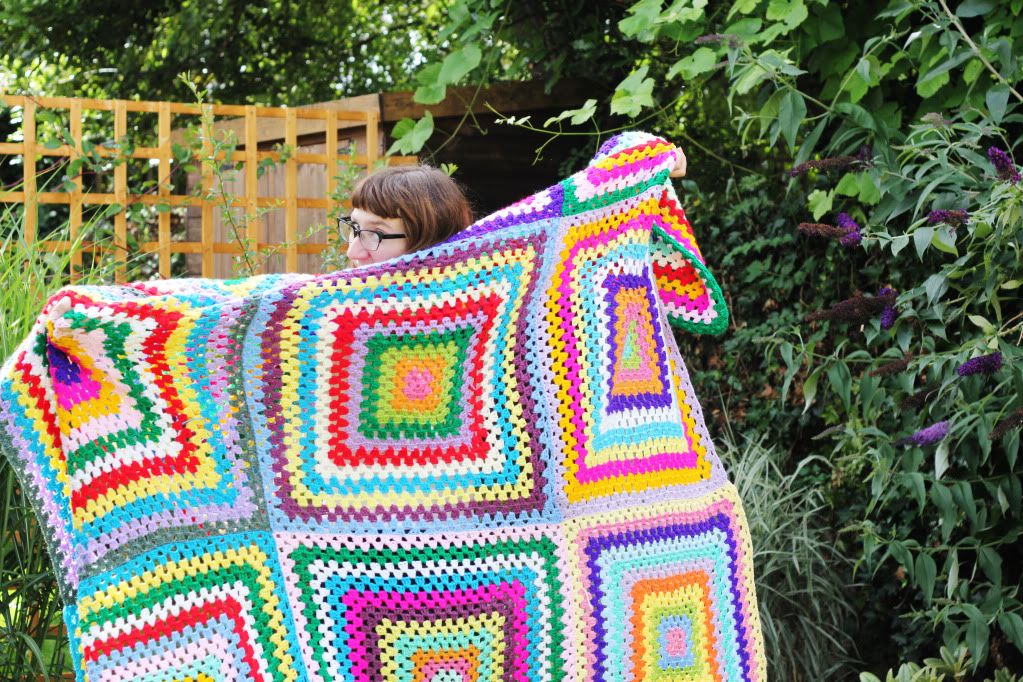
Look What I Made: Granny Square Blanket.

Happy Daisy Craft Crochet
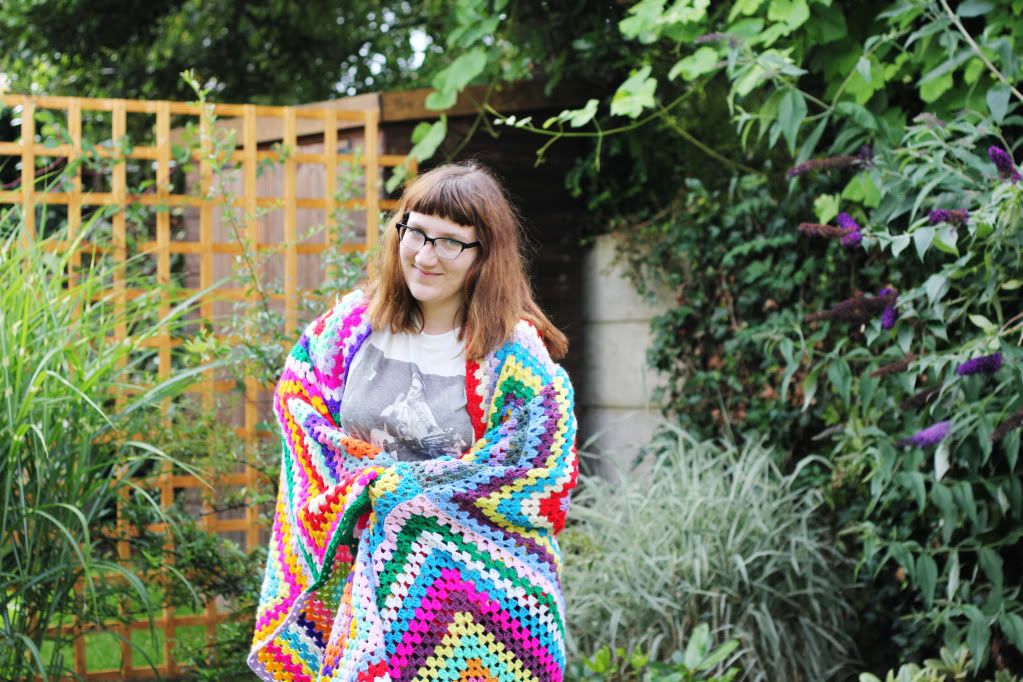
I have wanted to learn how to crochet, ever since I taught myself to knit a couple of years ago, but unfortunately, it turned out there was something I couldn't learn from youtube videos! I watched dozens of cheery women crocheting like there was no tomorrow, I read books and magazines and how-to-guides and had a few mini crochet lessons with various people kind enough to try and teach me, all to no avail. This was really frustrating as I usually pick things up pretty quickly. However, at my Wednesday Knitting Night at work about a month ago, one of my lovely knitters - who'd been saying "Amy, if you can knit, you can crochet." at every session since day one, sat me down with a crochet hook and in ten minutes, bam! I could crochet. Only the basics, but enough to make the granny squares I'd been dreaming of.
Happy Daisy Craft Crochet
So this is my very first crochet project - a blanket made up of nine squares - each square is twenty-two rounds, and all stitched together. Originally it was just going to be one really big square - but I wanted to use up some of my cheapy acrylic yarn and I didn't have large quantities of each colour, and I also wanted to be able to work on it on the bus, on my lunch breaks at work etcetera - so it needed to be a portable size.
Happy Daisy Craft Crochet
In case you couldn't tell, I am ridiculously proud of this blanket! It's going to come in very handy in winter  and will be perfect for brightening up my flat! I think I'll embark on a granny-square-vest next, and maybe even try to learn a new stitch. One step at a time.

A ♥
Related Posts Plugin for WordPress, Blogger...