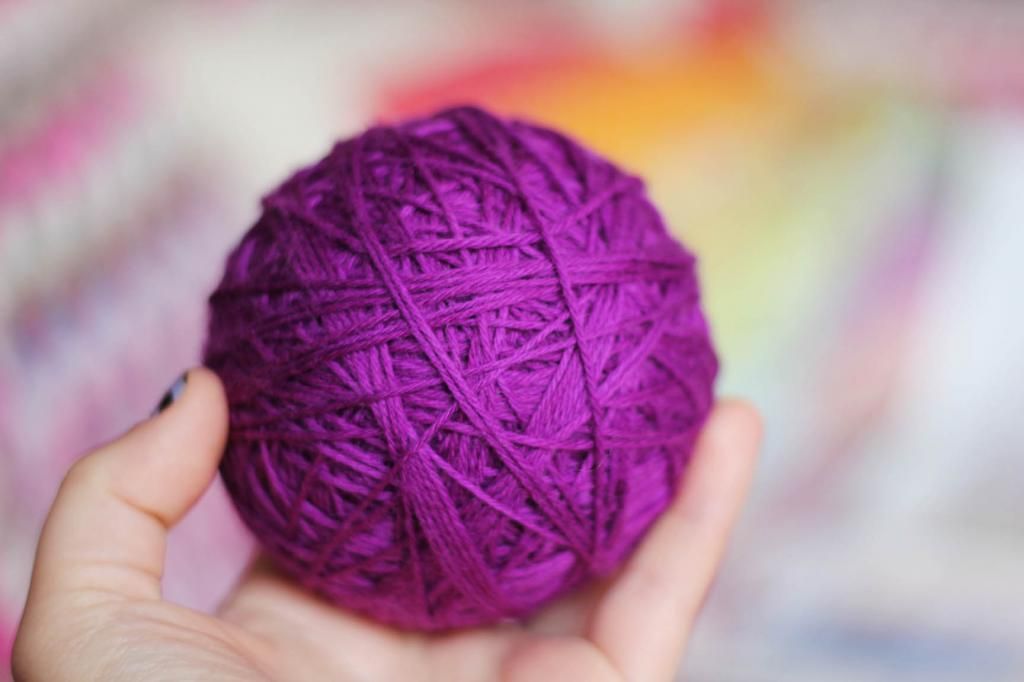
I love dyeing. Yarn dyeing, tie-dyeing, hair dyeing, you name it, I'll try and change the colour of it. Normally I dye my yarn with Kool-Aid - you can see some of the results of that here and here. Kool-Aid is fun for creating variegated or 'hand painted' effect yarn, but I wanted to try a dye that I could use to create an all over even colour. Also, Kool-Aid is pretty hard to come by in the UK and you have to use a fair bit to dye 100g balls of yarn vibrant shades.
I want to share my experience with acid dyeing - this little how-to is for the Stove Top Immersion Technique.
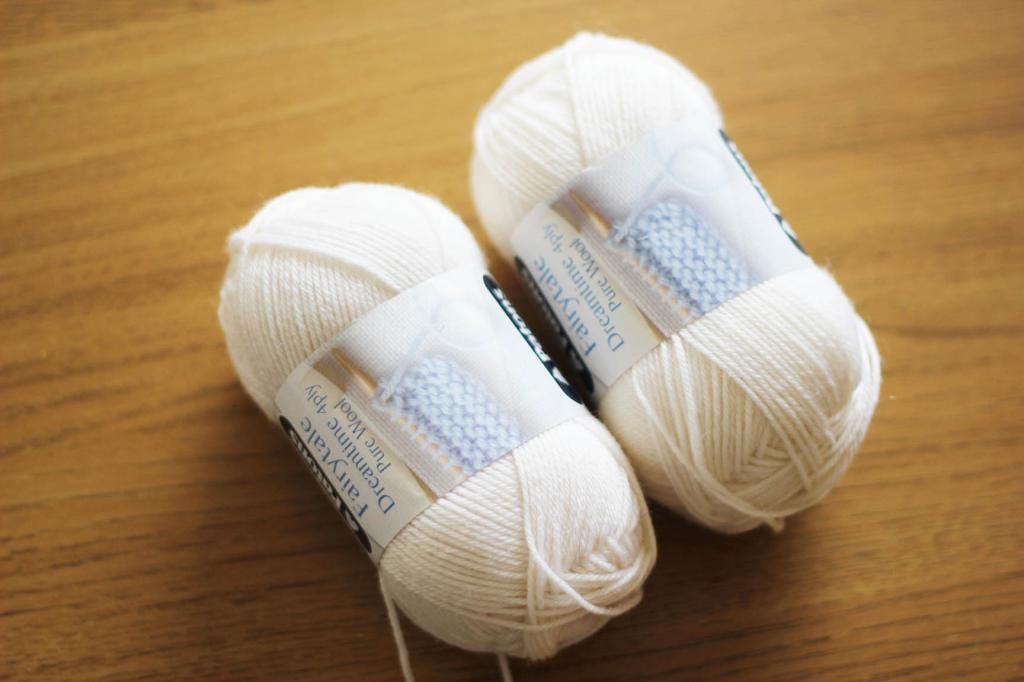
You will need:
Acid dye - I used Easifix AllinOne - it comes in a wide range of colours, is relatively expensive and you don't need to add a fixative.
Yarn for dyeing - Acid dyes dye protein fibre - so you want yarn that's 100% wool, or a combination of wool and silk or alpaca or mohair etc not acrylic or polyester - avoid cotton too, stick to animal fibers.
A vessel for dyeing in - This needs to go on the stove, so stainless steel or enamel saucepans work well.
A jug - For mixing the dye in.
A spoon - Stainless steel or plastic is fine, wooden spoons may hold the dye.
Protective gloves - Latex or rubber gloves will work fine. I didn't have any problems with the dye staining my skin, but I didn't really stick my hands in it, either!
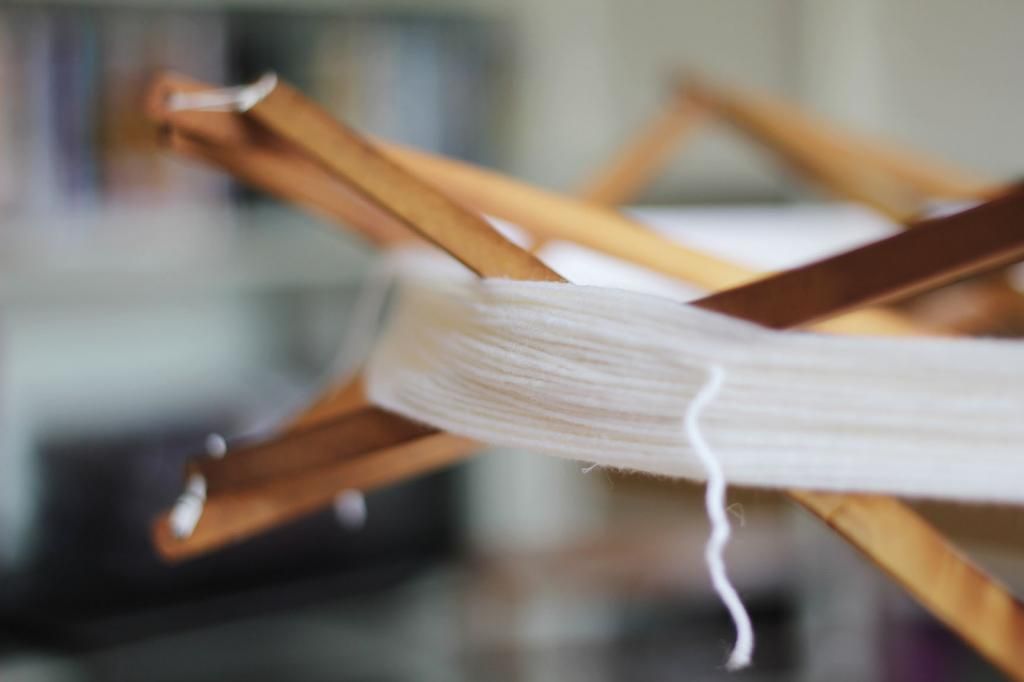
First up, preparing your yarn. You can't just stick a ball of yarn in a dye bucket and expect it to work wonders - you need to wind it into a hank. If you don't have access to a yarn swift, the back of chair works perfectly. Unwind your yarn and as you go, wrap it round and round either your swift, or chair back, until the ball is no more.
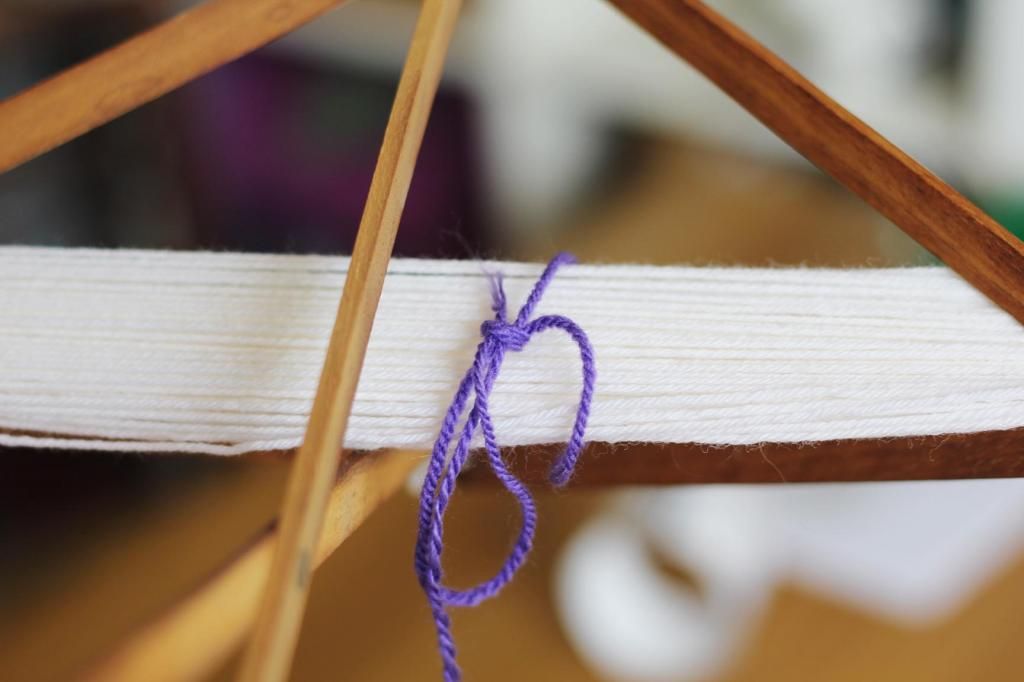
Tie it up - you don't want it to turn into a stringy, seaweedy mass in your dye bath, you want to knit with it afterwards, so make sure to tie up your yarn before removing it from your swift or chair back. Some people use two ties, but I play it safe and use three or four. I tend to use acrylic yarn in a contrasting colour - so it's easy to see when you want to untie it later.
Note: Don't tie it too tight - ideally, your ties should be pretty slack, you don't want tie-dye effect stripes on your yarn.
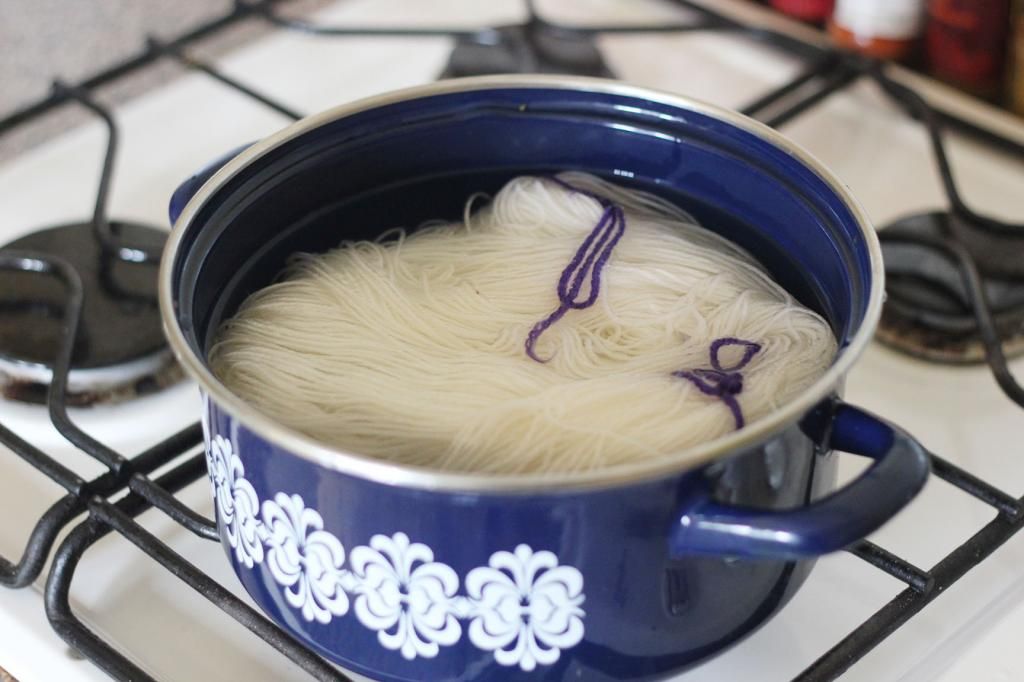
In order for your yarn to absorb the dye properly, it needs to be soaked in water until it's completely saturated. Remember - yarn will felt if shocked with hot or cold water, so run lukewarm water into a container and fully immerse your yarn. I used my dye vessel to do this in, and when fully soaked I transferred it straight to the stove top.
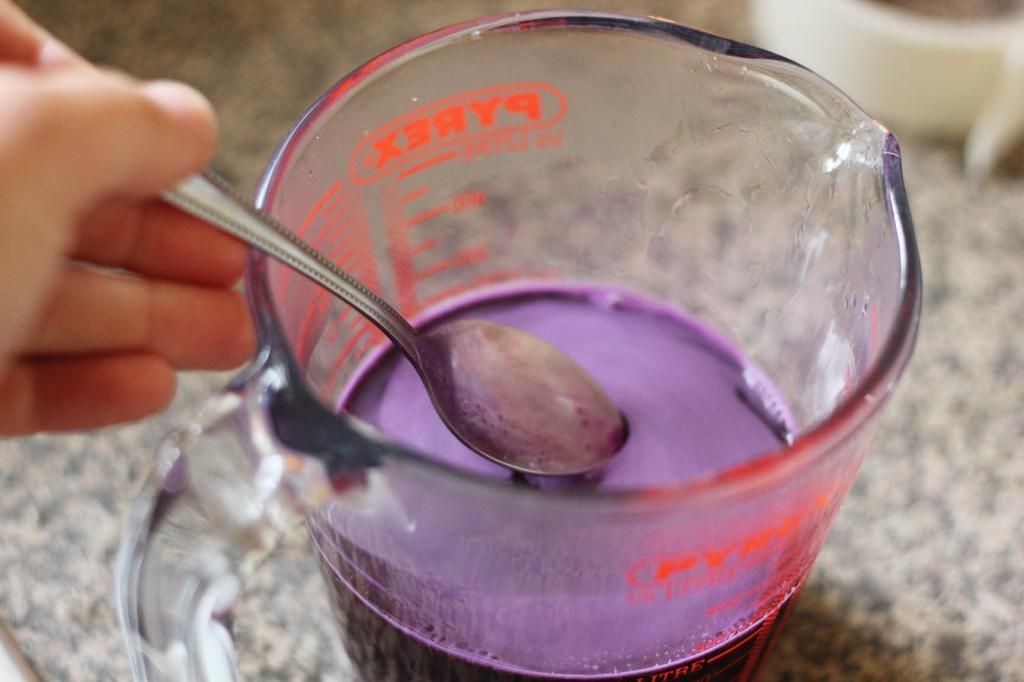
With your yarn in it's vessel, on the stove top and all ready to go, turn on your stove to the lowest temperature and allow the water to heat up gradually - again, you don't want your yarn to felt and acid dyes work at high temperatures, so gradual is best. Meanwhile, mix up your chosen dye colour in your jug. The general rule of thumb is 10% of the dry weight of your yarn, will give you the amount of dye to use. I'm dyeing 100g, so in order to get the brightest shade possible, I should use 10g of dye. However, I chose to use 5g of dye - and still achieved a bright shade of purple.
Dissolve your dye with hot water - I used around a quarter of a litre. If you're using a dye that requires a fixative, now is the time to add that fixative (it's usually vinegar, but best to check your dyeing instructions).
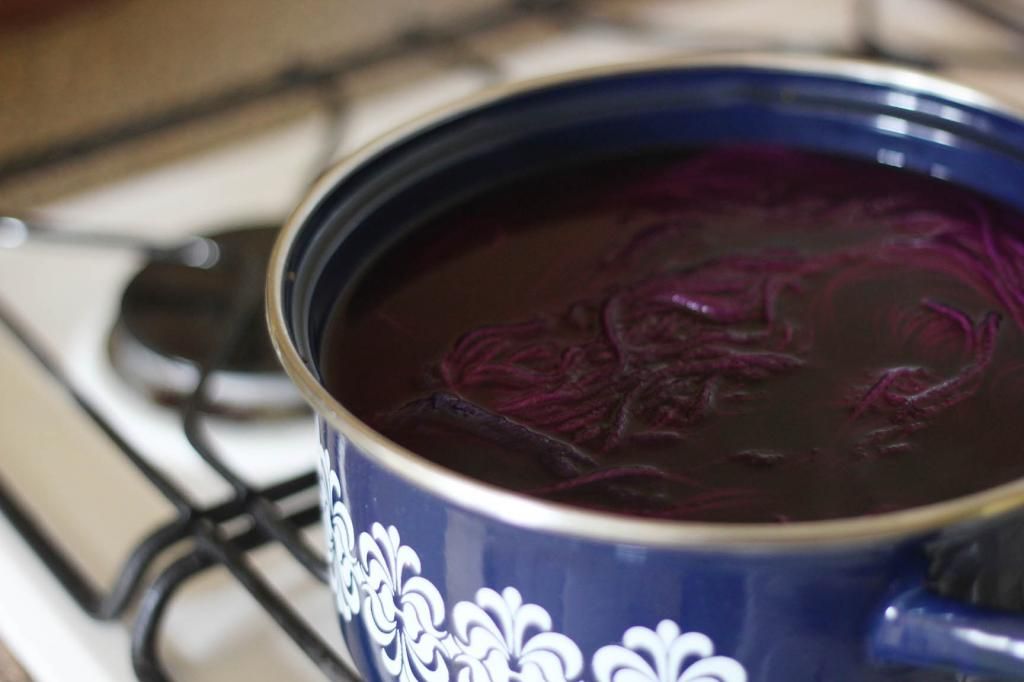
Add the dye to your simmering pan of yarn - I was initially worried that I'd get darker patches on the yarn by doing it this way, but after stirring it, I had no problems at all. If you're worried you could always heat two pans of water to the same temperature - one with your yarn and a second one to add the dye to, before transferring your yarn over.
Let it simmer but not boil for 20-40 minutes, then remove from the heat and leave to cool - again, important to stop felting occurring. When cool, empty out the water, you'll notice the water is clear, rather than coloured. Gently squeeze excess water from your yarn, but do not wring, then leave to drip dry, either on your washing line, or over the bath tub.

When completely dry, you'll need to wind it into a ball - using the same technique as for unwinding it earlier, pop the hank on your swift or chair back, slowly unravel and roll into a ball, or you can use a ball winder.
And there you have it, hand dyed yarn, all ready to knit with!
Additional Notes:
- Acid dye is not highly acidic. They have a neutral ph similar to water, the term 'acidic' refers to the acid salt used as a fixative, which have a mildly acidic ph, similar to vinegar and citric acid.
- The dyes are non toxic when used properly, follow the safety instructions that come with your dye.
- If you're dyeing yarn black, you will need double the quantity of dye - 20% of the dry weight of your yarn, to ensure you get a deep colour.
It's a really fun process, I'm looking forward to mixing up my own shades and dyeing all the neutral coloured yarn I can lay my hands on.
A ♥

No comments:
Post a Comment