
So, it's the first of December! Now I can continue to put my decorations up and play my Christmas music at full volume, without people rolling their eyes and saying "It's November Amy, it's too early for Christmas!" Haha. Lots of people have said that to me so far this year!
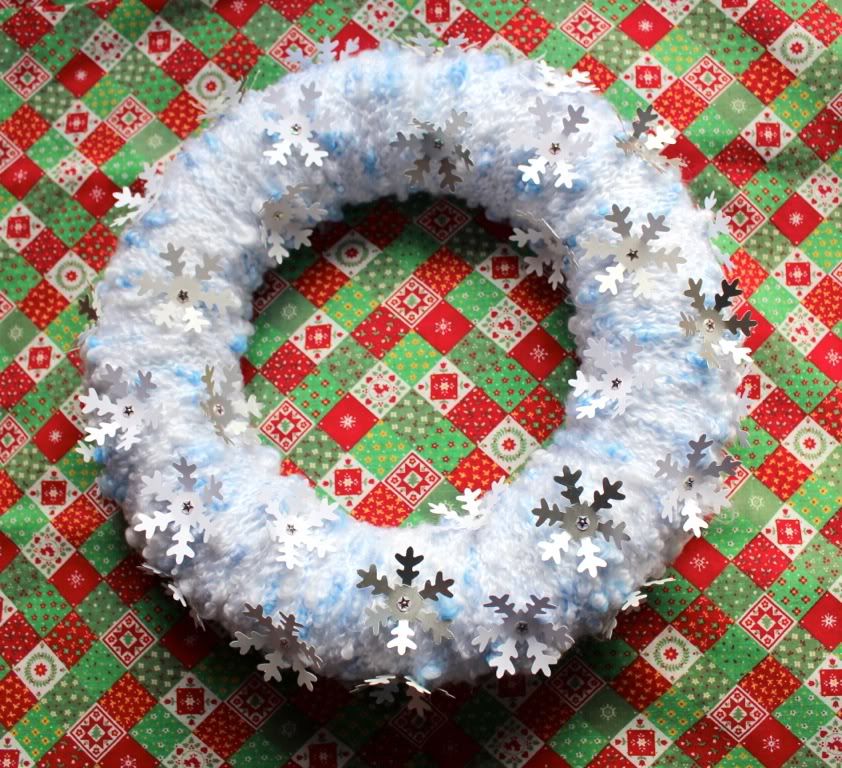
The Snowflake Wreath
The first of my wreath designs for Christmas 2011! see the first one here.
This is a really dainty wreath that's surprisingly simple to make.
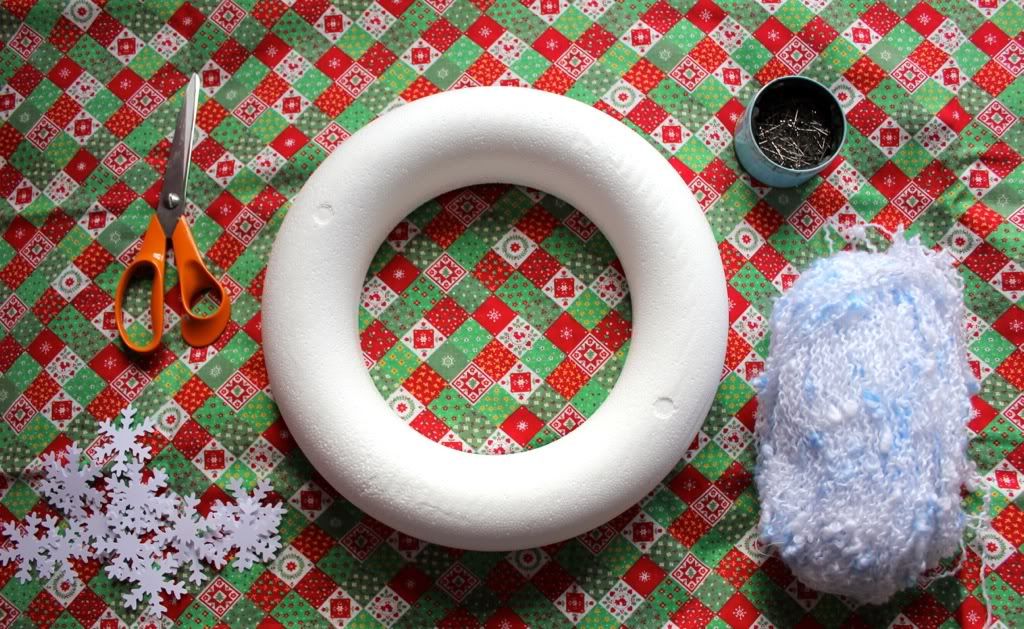
You Will Need:
A polystyrene wreath - mine was 30cm in diameter.
Yarn in your choice of colour.
Dressmakers pins.
Paper snowflakes - I cut mine out using this punch, but you could die cut them, or you could cut them by hand (I found some simple instructions for that here).
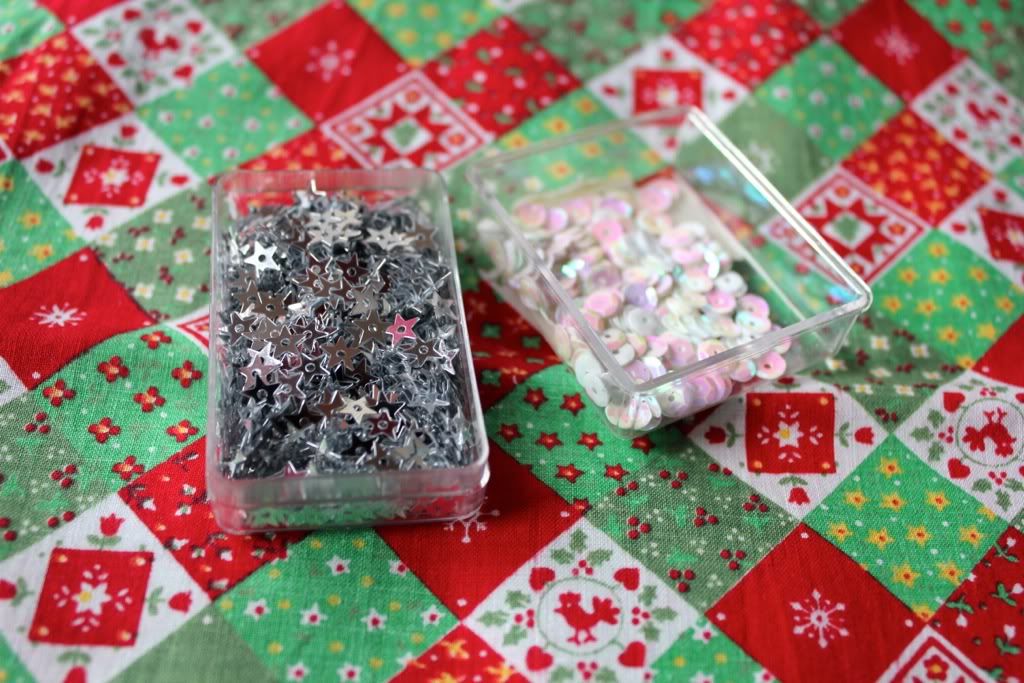
Sequins (not a necessity, but they add a little bit of subtle sparkle).
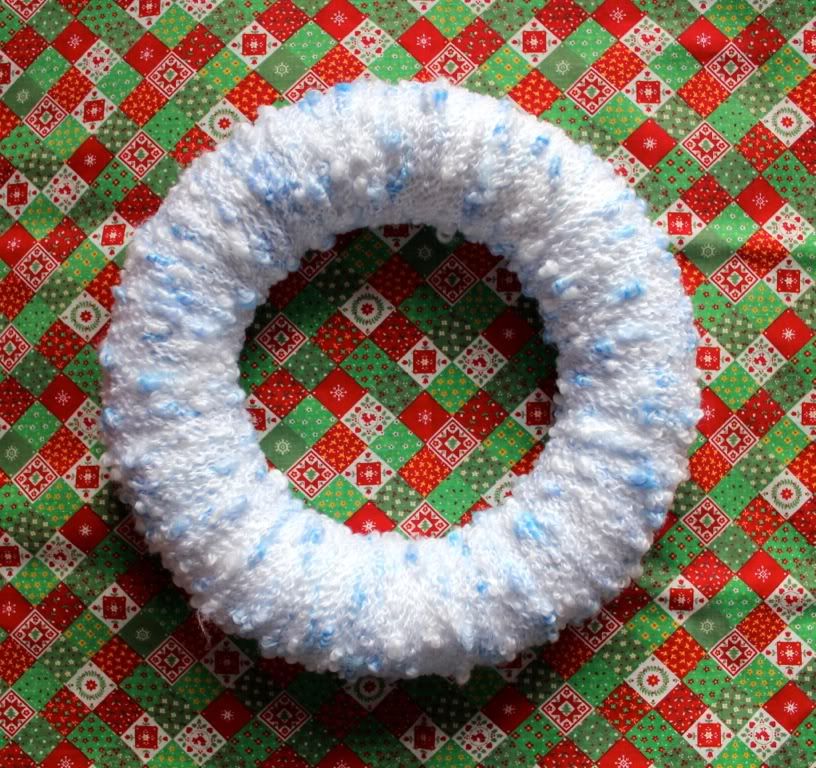
First, wrap your wreath in yarn, making sure to cover the polystyrene completely.
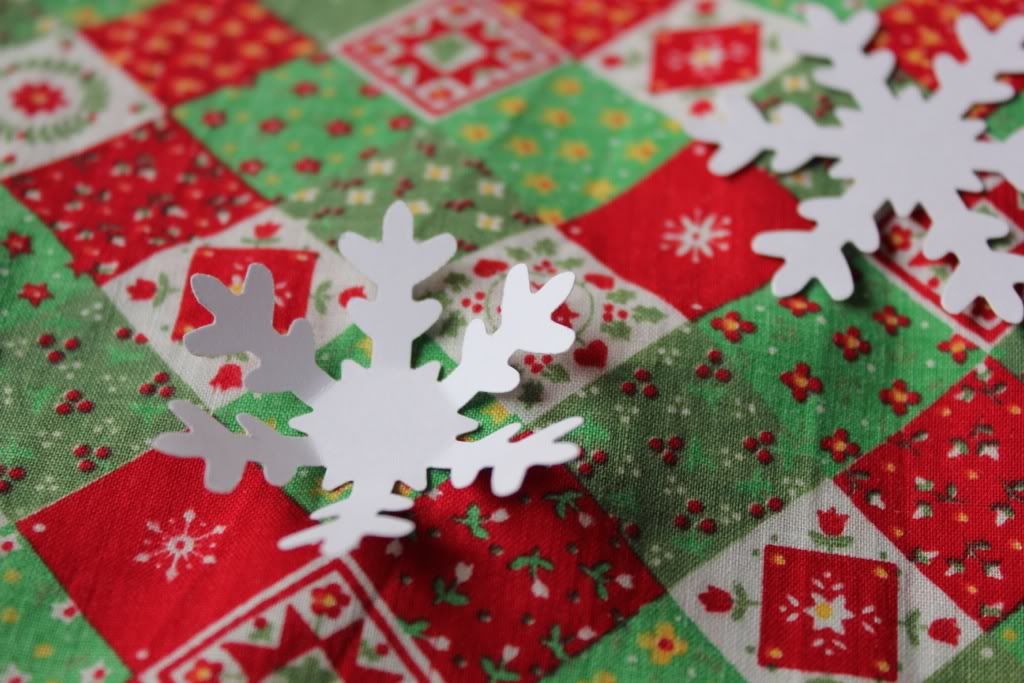
Then bend the edges of your paper snowflakes so they have a 3-D effect.
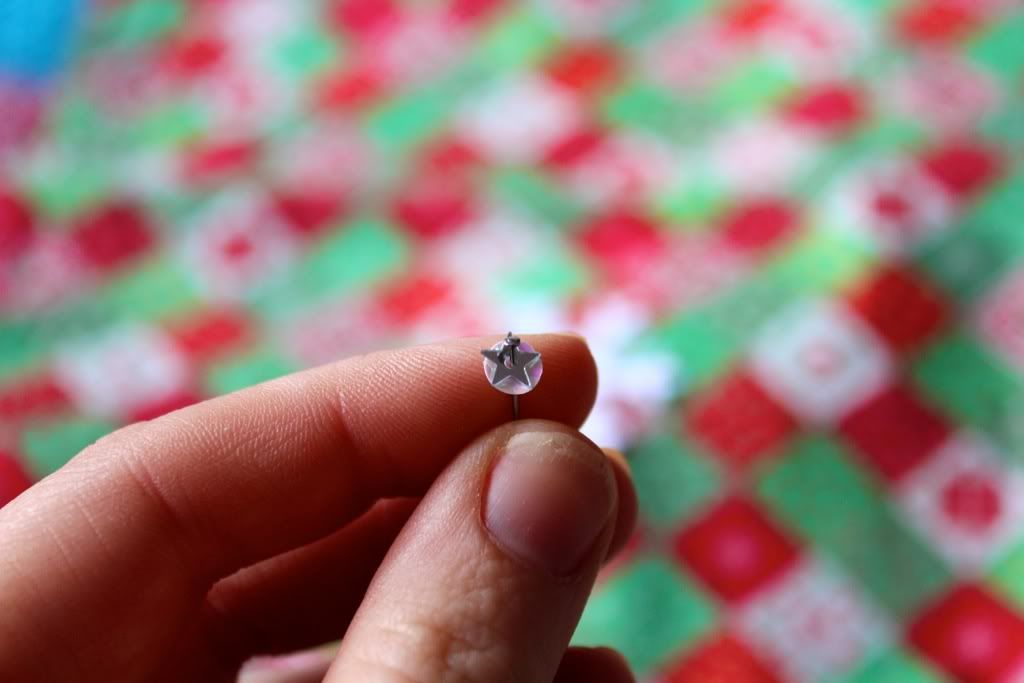
Thread a sequin or two (or a seed bead) onto one of your pins...
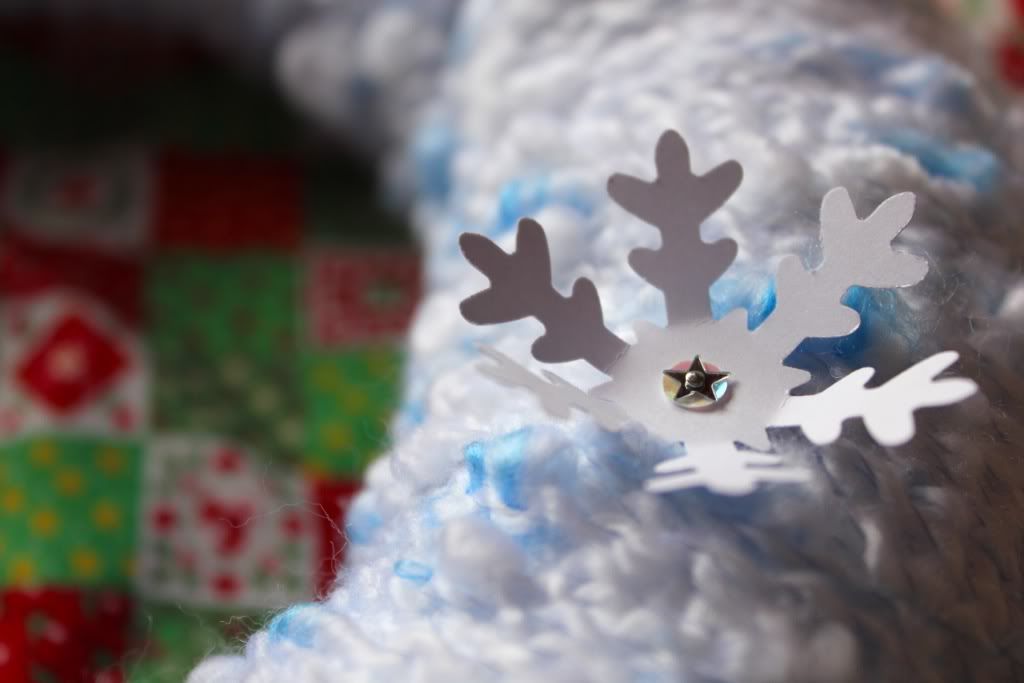
... and push it through the middle of a snowflake, anchoring it to the wreath.

Repeat until the wreath is as full of flakes as you like.
Ta Da! One simple snowflake wreath! Hang it up and impress all your guests this Christmas! Ax.
(note: don't hang your wreath outside, the winter weather will spoil it!)
oooh so pretty!
ReplyDelete